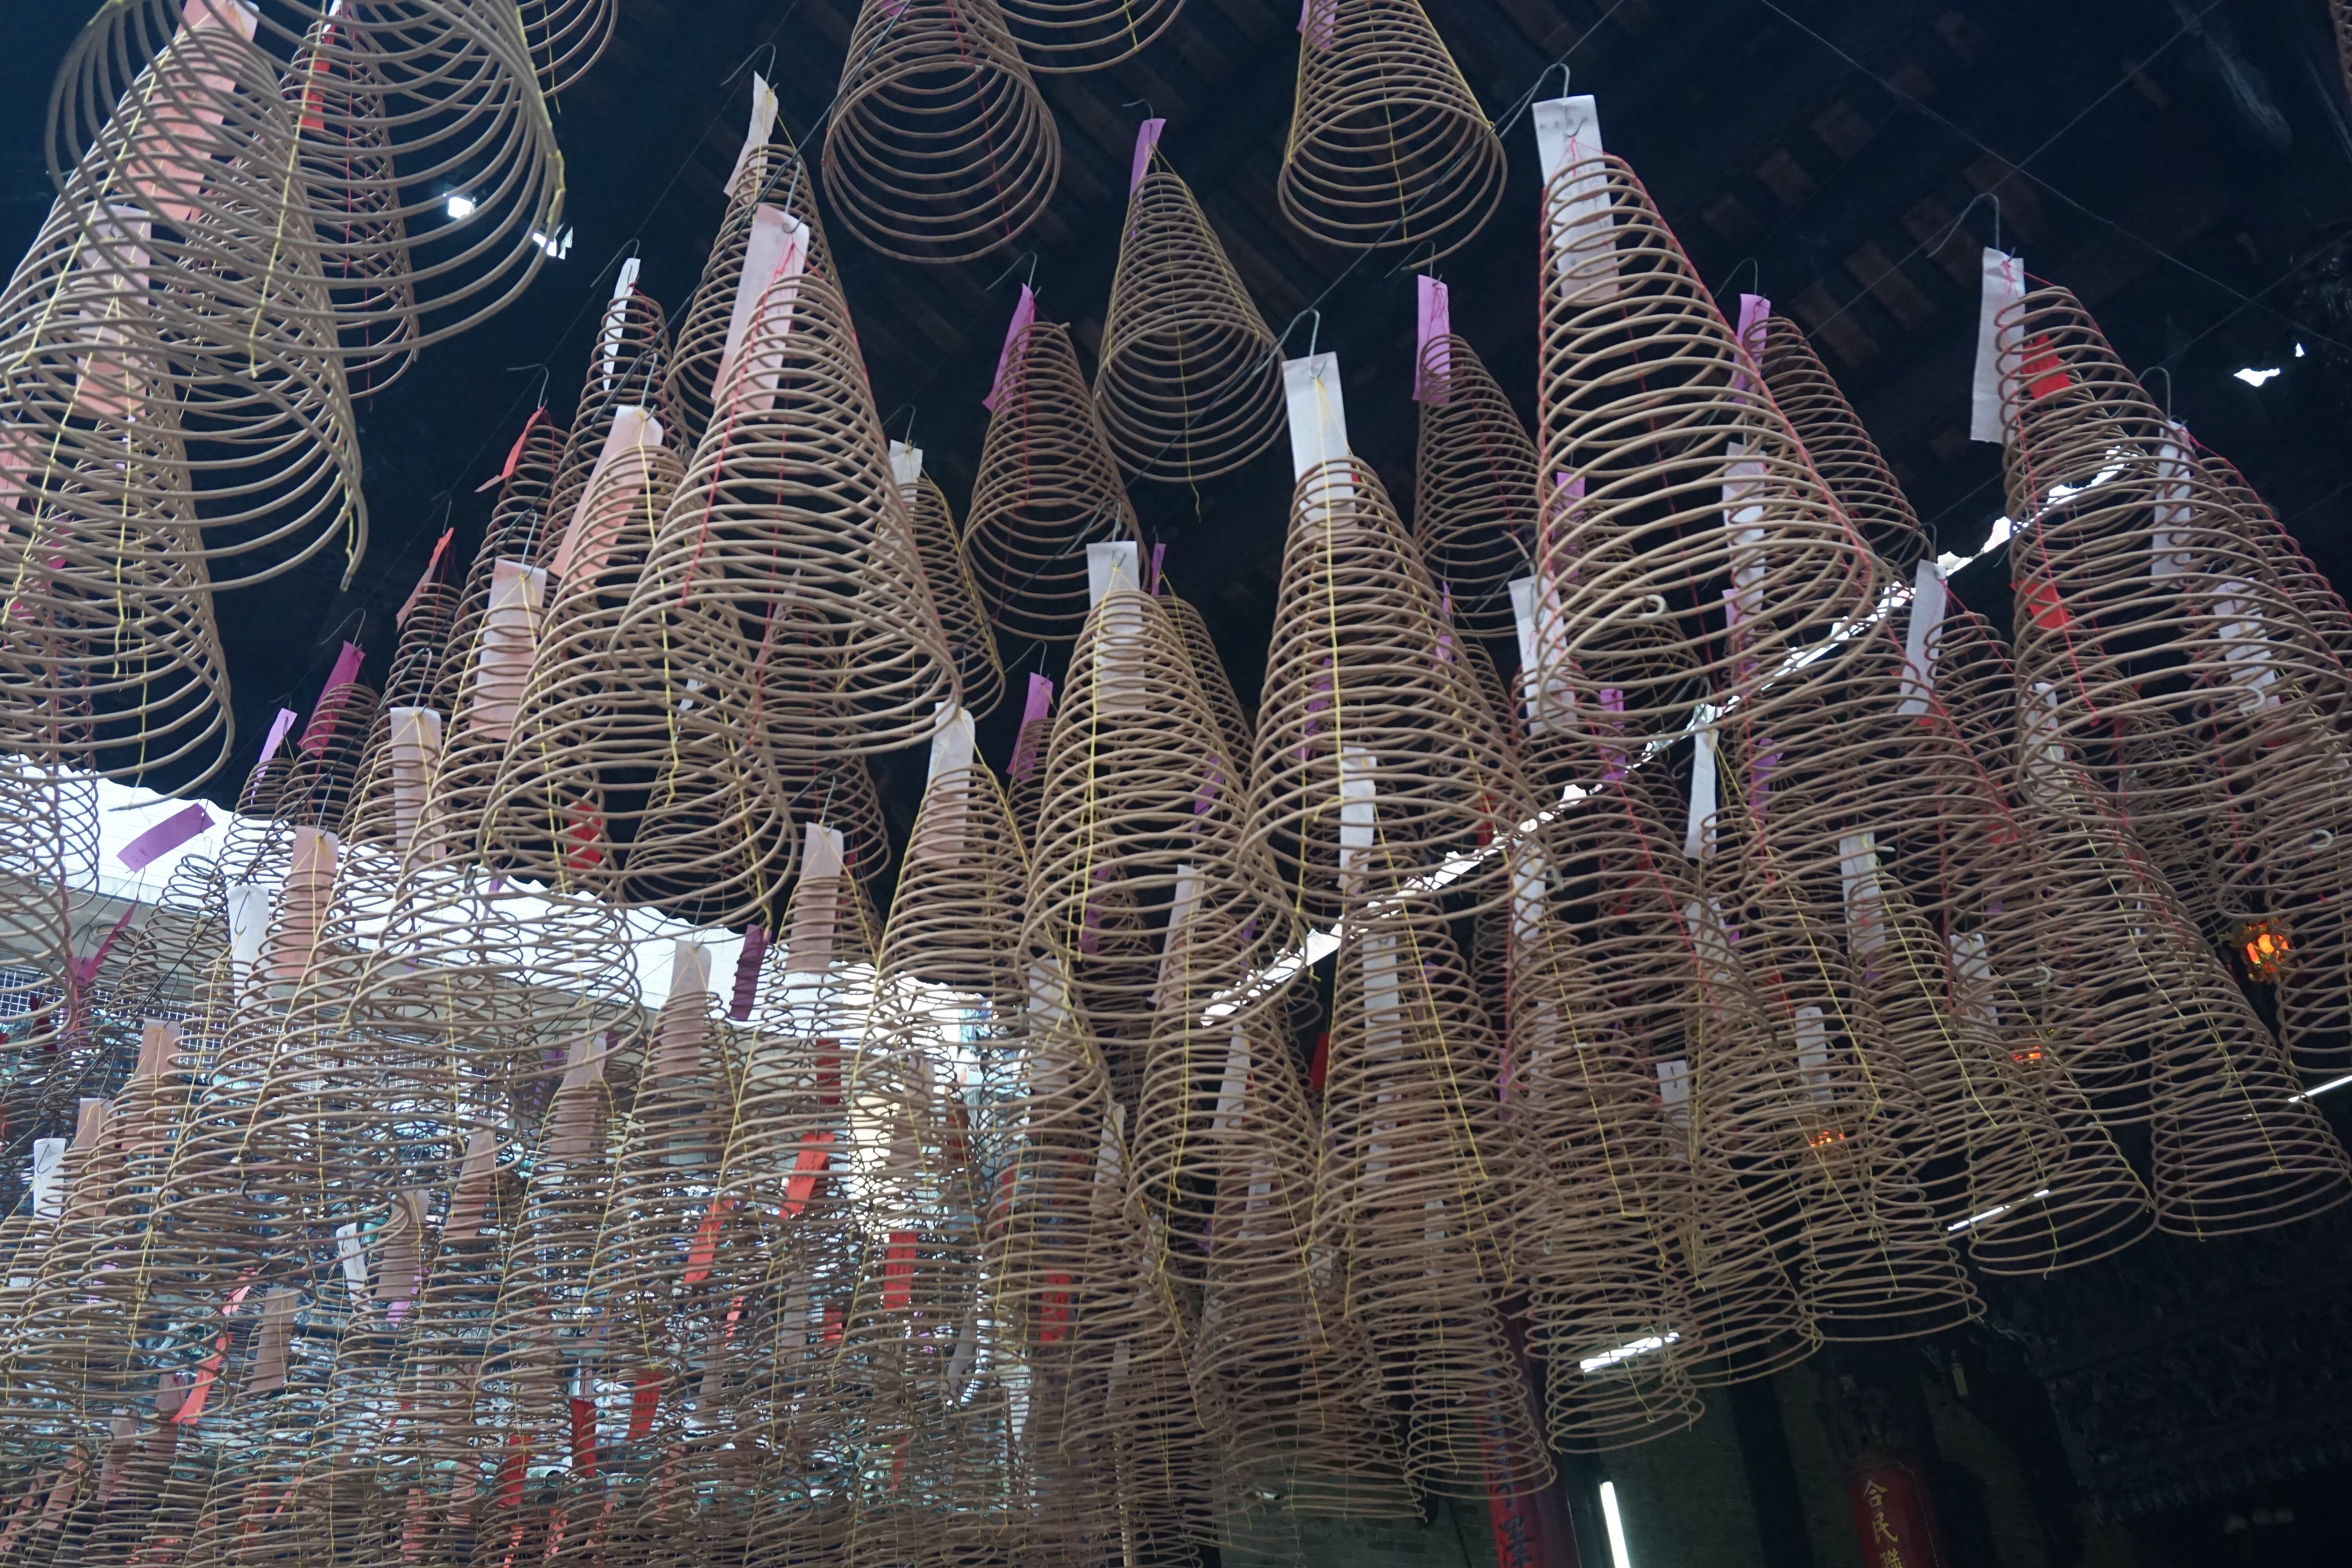
The Sword of Damocles Hangs Above Us All, Every Day
It’s been a long time since I last wrote here. Life has a way of sweeping us along, doesn’t it? The past months (or has it been years?) have been full of more than a few challenges, surprises, and those “interesting” moments that no one really asks for but somehow end up… let’s say shaping us. Lately, with more bad news in the family, I’ve been reflecting on how fragile things can feel—how quickly the ground can shift beneath our feet.
That thought keeps bringing me back to the story of the Sword of Damocles, a tale as ancient as it is relevant today.
Damocles was a courtier in the service of Dionysius II, a tyrant of Syracuse. Damocles, like many of us, looked at the life of someone seemingly more fortunate and thought, “Must be nice.” He flattered Dionysius, talking about how lucky he was to wield such power and live surrounded by luxury.
Dionysius, sensing an opportunity for a lesson, offered Damocles the chance to trade places for a day and experience what it was like to be king. Naturally, Damocles jumped at the opportunity. He enjoyed the lavish meals, the fine wines, and the fawning courtiers—until he noticed something unsettling. Above the throne where he sat, a sword hung by a single strand of horsehair, poised to fall at any moment.
The message was clear: with great power and privilege comes a constant, looming threat. Damocles, unnerved, quickly asked to leave the throne, realizing the life of a king wasn’t as carefree as it seemed.
It’s a powerful story because, in one way or another, we all live with our own version of that sword hanging above us. We may not have horsehair and blades suspended over our heads, but life’s uncertainties are always there—health concerns, unexpected challenges, the weight of responsibilities.
It’s easy to let those things make us anxious or paralyzed, to focus so much on the sword that we forget to enjoy the feast in front of us. But that’s not what life is about. The truth is, the sword is always there. It always has been. It always will be. What matters is how we choose to live despite it.
So, seize the day. Every day.
Enjoy the laughter at dinner, the warmth of a sunrise, or the simplicity of a good cup of coffee. Appreciate your health, your loved ones, your ability to get out there and experience the world. Don’t wait for the sword to fall before you start living. We’re all under it, but that’s what makes every moment of joy even more precious.
Here’s to making the most of each day—no matter what hangs above us.

